Wednesday, 19 February 2025

HOW I AM MANAGING MY ENDOMETRIOSIS

How I Manage My Endometriosis Pain


What is Endometriosis?

 Endometriosis is a condition where tissue similar to the lining of the uterus grows outside of the uterus. It can cause pelvic pain, painful periods, and infertility. 

Living with endometriosis is an ongoing challenge, one that requires more than just dealing with the pain—it’s about taking care of my whole body. Over time, I’ve realised that a combination of rest, pain relief, and a holistic approach has made a significant difference in how I manage my symptoms. While no two experiences with endometriosis are the same, I hope sharing what works for me might help someone else navigate their own journey.

1. Prioritising Rest and Listening to My Body

One of the biggest lessons I’ve learned is that pushing through the pain only makes things worse. If I feel a flare-up coming on or my body feels exhausted, I take it as a sign to slow down. Rest days, naps, and simply lying down with a heat pad are essential for me. I’ve also had to learn to say no to plans when I know my body needs a break—something that took time but has made a huge difference.

2. Heat Therapy: My Go-To Comfort


Heat therapy is one of the simplest but most effective ways I manage my pain. I mainly use a tens machine, an electrical nerve stimulator that helps with pelvic pain management by delivering small pulses through the skin to stimulate nerves, which stops pain messages from reaching the brain. I also use a hot water bottle, which helps relax tense muscles and provides relief during a flare-up. 

Link to my tens machine 


3. Finding the Right Pain Relief


Painkillers can be hit or miss with endometriosis, so I’ve experimented with different options. At the moment, I take paracetamol, ibuprofen and codeine on my painful days. 

I’ve also explored natural alternatives like 

- Curcumin 

- Magnesium Glycinate

- CBD oil

It’s worth speaking to a doctor about different pain management strategies because what works for one person might not work for another.

Link to curcumin 

Link to magnesium glycinate 


4. Movement—But on My Terms

Exercise is a tricky one because high-impact workouts can make my pain worse. Instead, I focus on gentle movements, like yoga, stretching, and walking on my walking pad. On bad pain days, I stick to simple stretches or breathing exercises, which help release tension without straining my body.

Link to my walking pad 


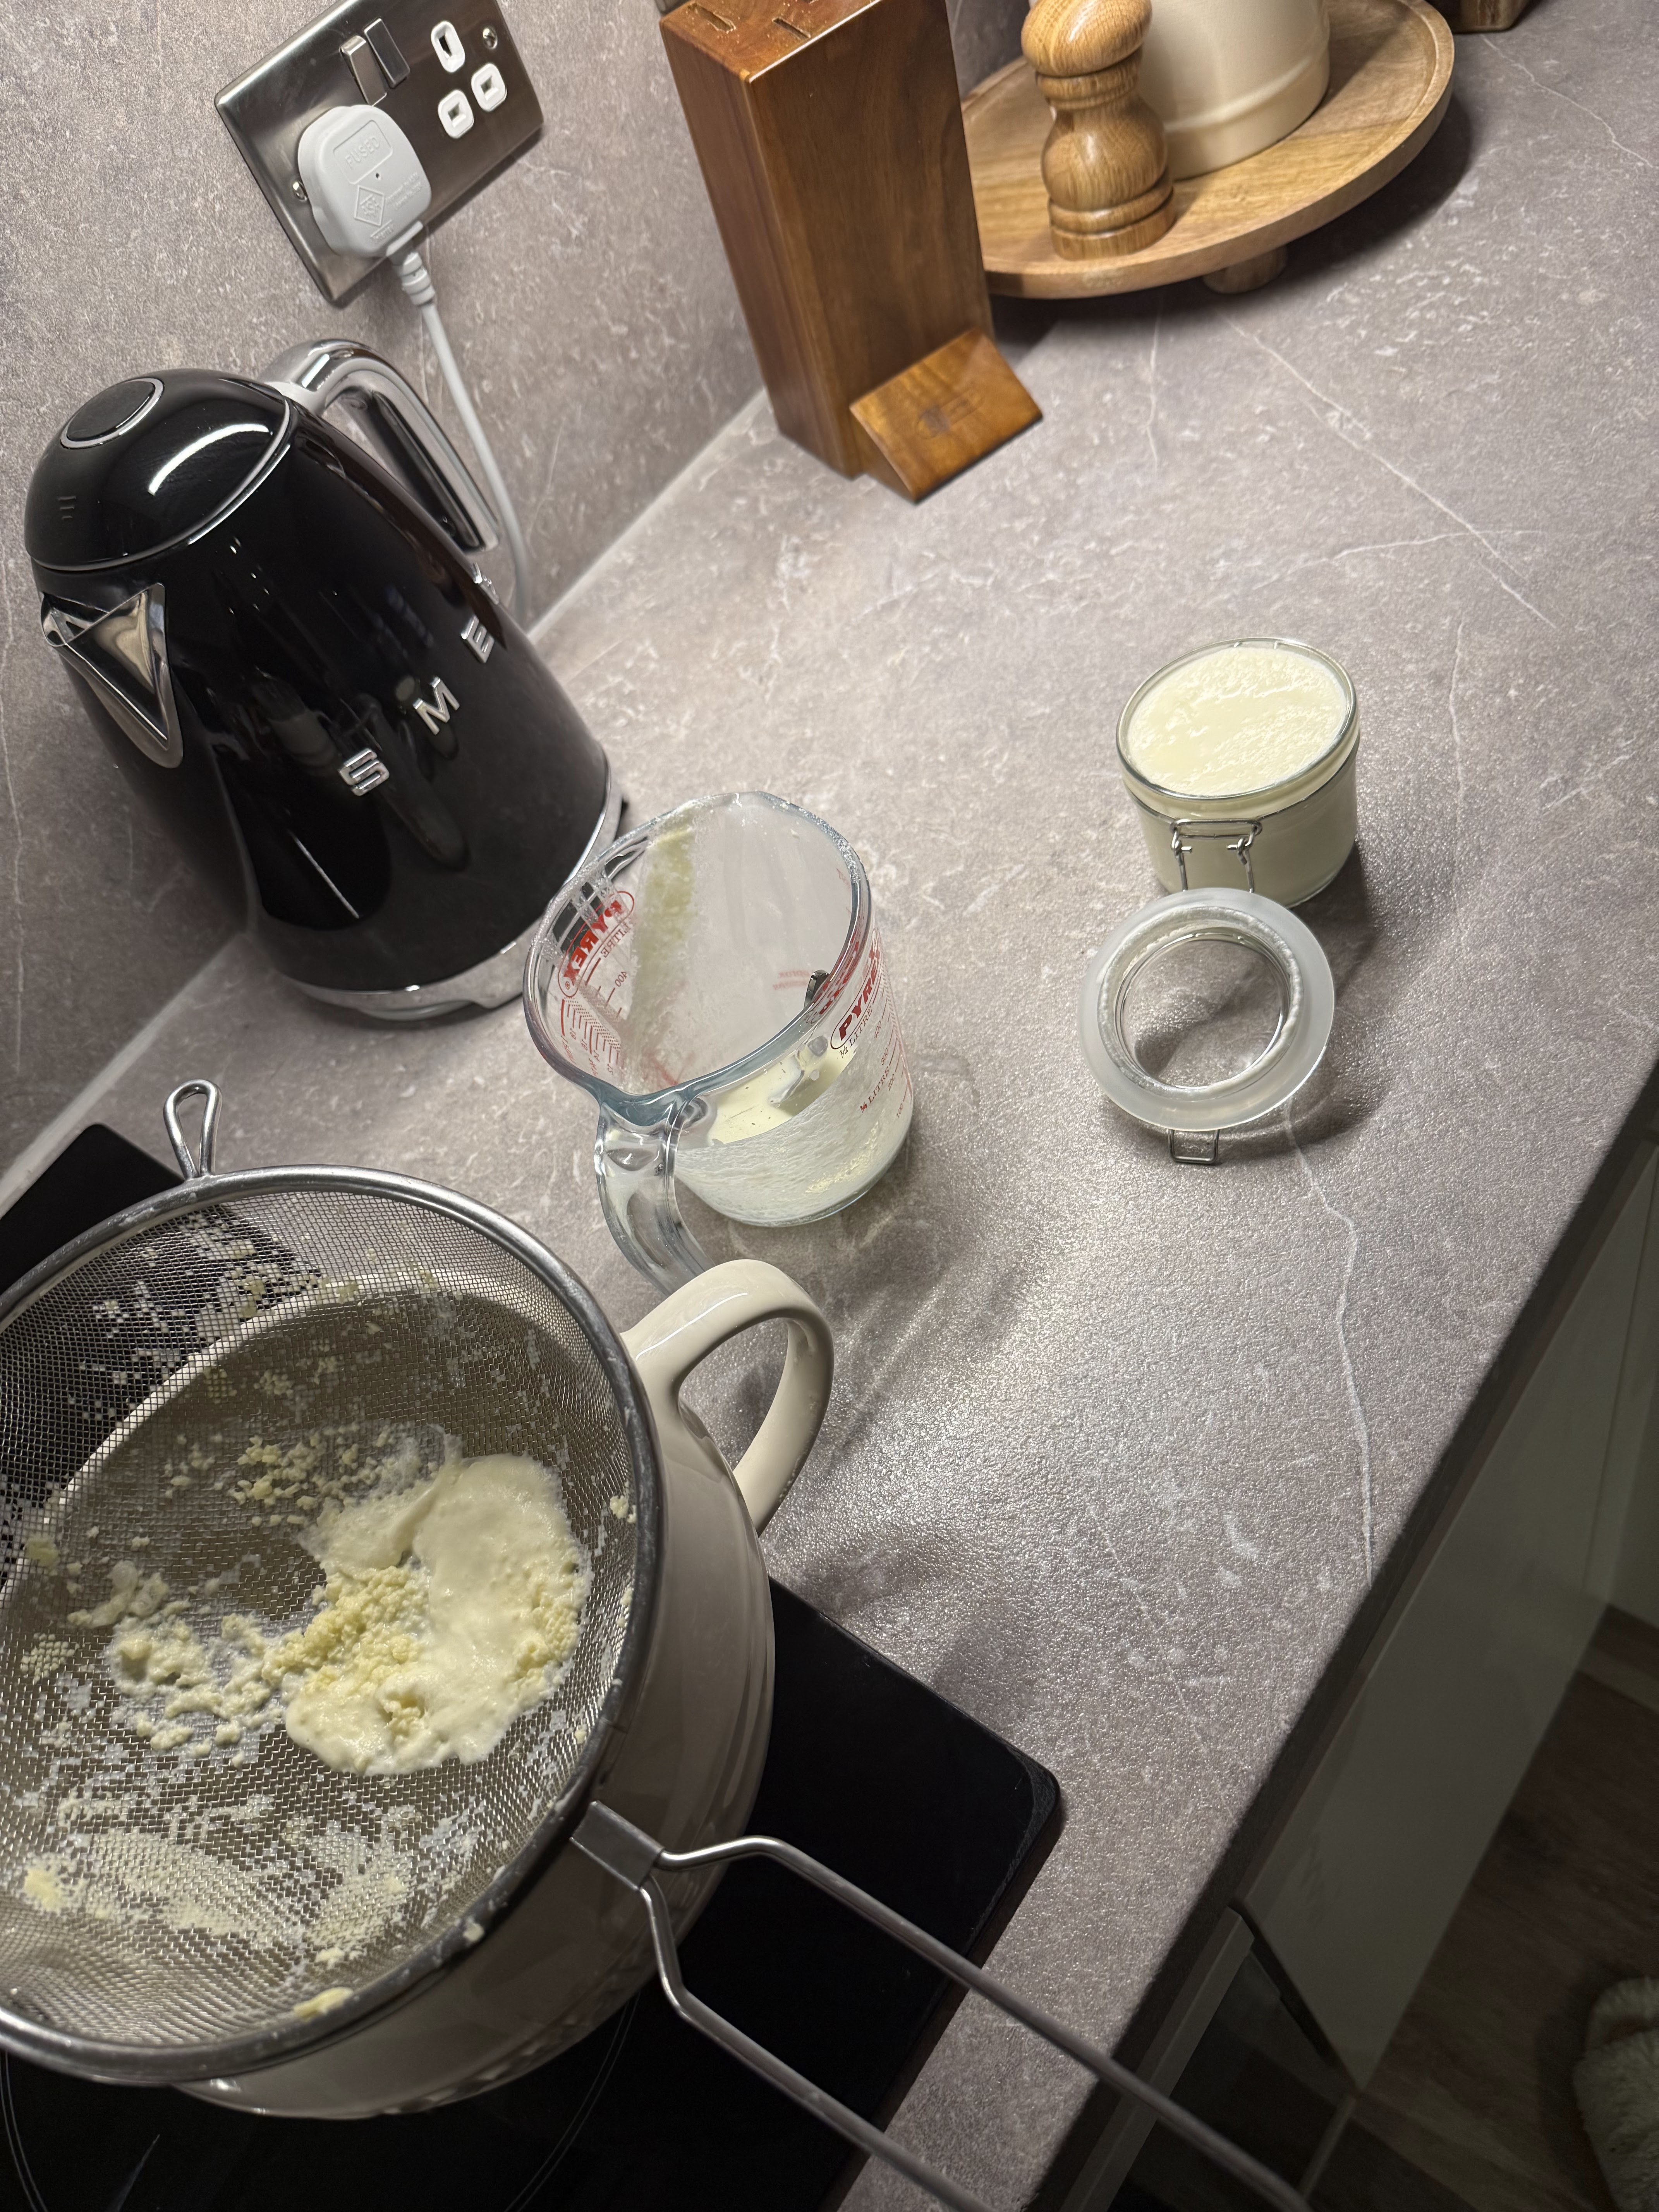
5. Dietary Changes That Help

Food can be a trigger for my conditions, so I’ve learned to pay attention to what makes my symptoms worse. Reducing inflammatory foods like dairy, processed sugar, and caffeine has helped, and I try to include more anti-inflammatory foods like leafy greens, salmon, and ginger. It’s not about being perfect, but small changes have made a noticeable difference. I have been following my diet recipes from this book; The 4-week Endometriosis Diet Plan contains so many healing & anti-inflammatory recipes from breakfast, lunch, dinner and dessert. I would suggest following some of these diet plans, especially if you suffer from gynaecological issues like Endometriosis, PCOS, fibroids and PMS. 

Link to recipe book 


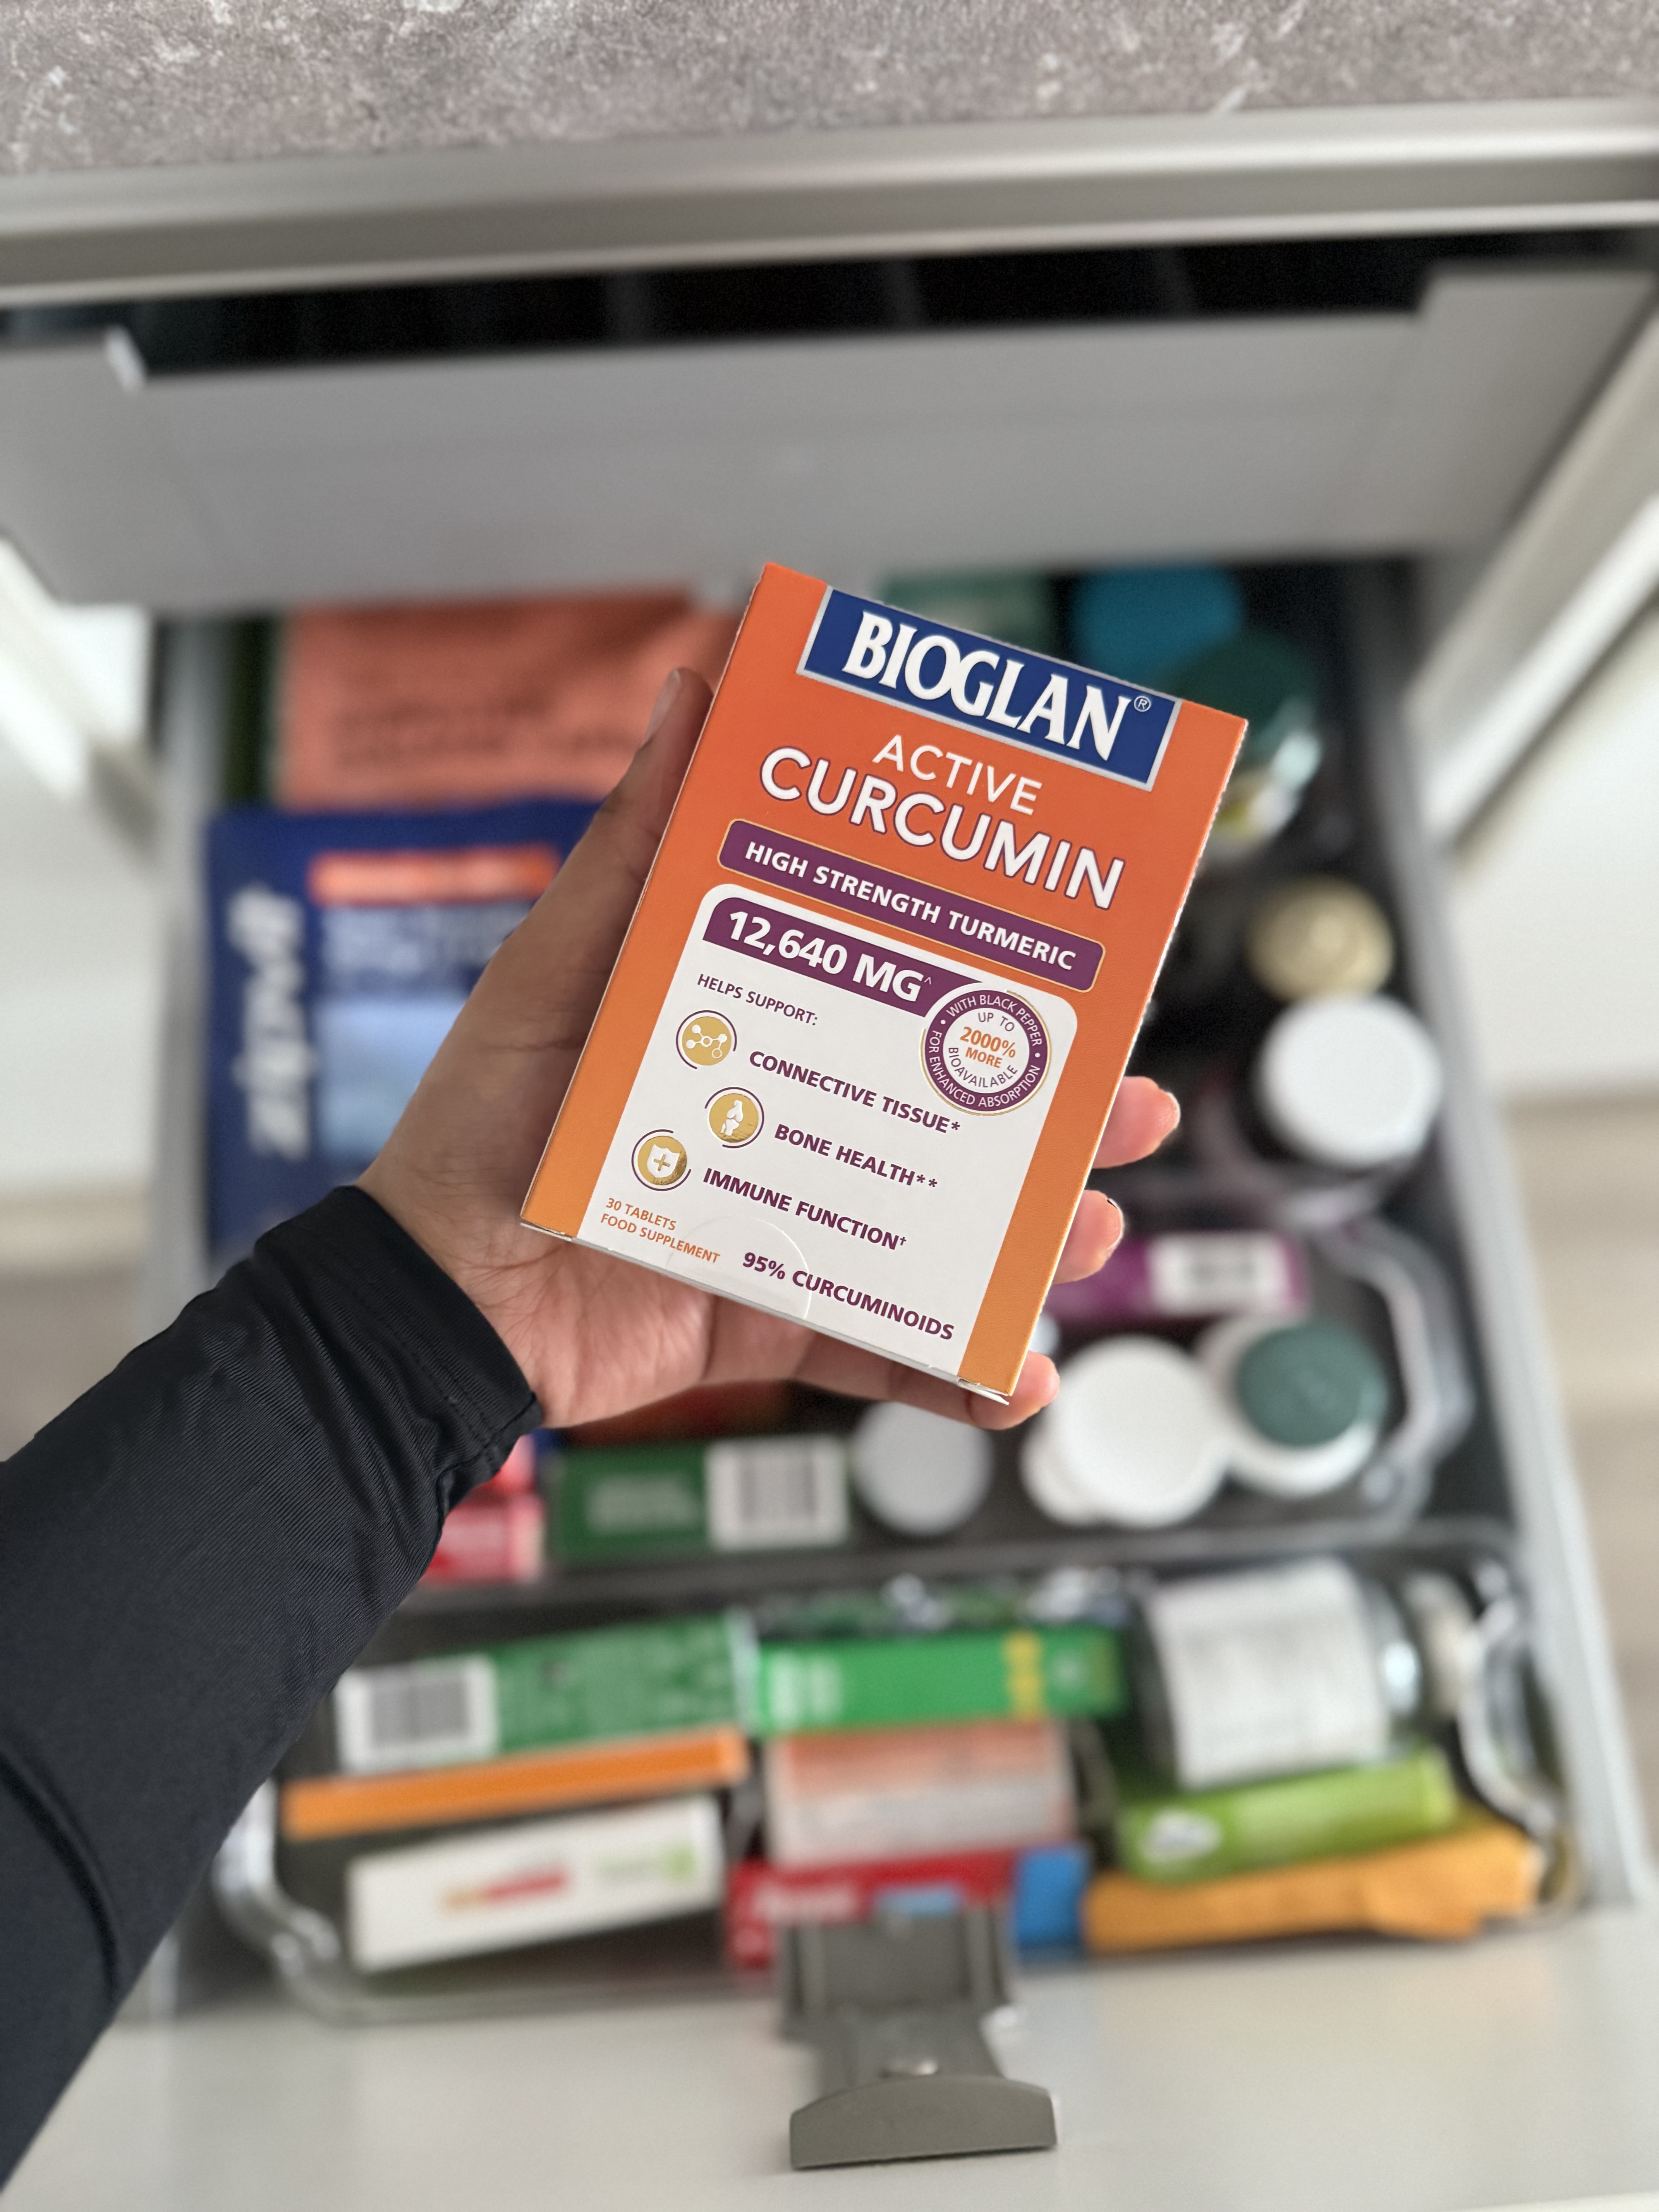
6. The Supplements That Help Me

I’ve found that certain supplements help support my body and reduce inflammation. 

Magnesium Glycinate is a must for me—it helps with muscle relaxation and eases the severity of my cramps, and also helps aid sleep because I find I struggle with insomnia. 

I also take these supplements:

- Omega-3 supplements have anti-inflammatory properties, which help reduce oxidative stress and help with promoting healthy hormone function with estrogen and progesterone, which is great for fertility.  

- NAC (n-acetyl- cysteine) -  Scientific research has shown that NAC improves endometriosis-related pain, e.g pelvic pain and inflammation and the size of cysts. Improve fertility in both women and men. 

- Evening primrose - promotes and maintains hormonal balance, aid PMS and increase cervical mucus production. 

- Vitamin D3 - supports hormone regulation & reducing inflammation

- Ashwagandha reduces stress and anxiety, balances hormones, and improves chances of fertility 

 Of course, everyone’s body is different, so it’s always best to consult a healthcare professional before starting new supplements. I would also suggest reading through each supplement so you can understand the benefits for your own knowledge. This is something I did before buying them. 

Link to Omega 3 supplements 

Link to NAC supplements 

Link to Evening Primrose 

Link to Vitamin D3 

Link to Ashwagandha 


7. Being Mindful of Skincare and Hair Products

Something I’ve become increasingly aware of is how everyday products can affect hormonal balance. Many conventional skincare and hair products contain endocrine disruptors—chemicals that can interfere with hormones and potentially worsen endometriosis symptoms. I try my best not always to opt for safer, non-toxic beauty skincare products, avoiding those with parabens, phthalates, and synthetic fragrances. I check my cosmetic products against this website, EWG.


8. Why I Stopped Using Relaxer Hair Products

Another big change I made was stopping the use of relaxer hair products. Studies have shown a link between chemical hair relaxers and an increased risk of gynaecological issues, including worsening endometriosis symptoms. Given my condition, I decided it wasn’t worth the risk. Since stopping, I’ve noticed a positive change—not just in my hair health but in how I feel overall. If you are interested, check out this link and make your own informed decision.


9. Managing Stress and Prioritising Mental Health

Stress makes everything worse, including endometriosis pain. I try to manage it through journaling, mindfulness, and giving myself permission to rest without guilt. Therapy and following support groups & individuals that have suffered with the conditions is helpful as you can connect with others suffering with the conditions. These are a few accounts that I follow and have seen others interacting with on social media;

For my endometriosis sufferers 
@endometriosis.uk 
@the_endo_ space
@endometriosischlo 
@melissawardrobe 
@tabethgiselle - follow me on my socials 

For my PCOS sufferers 
@pcos.weightloss 
@thepcosmentor

For my Fibroid sufferers 
@fibroidqueen 

Making sure to get 7-8 hours of sleep is also a must for reducing inflammation, stress and balancing hormones, which are all the factors that affect most gynaecological issues in women. 

10. Seeking Medical Support and Exploring Options

Endometriosis isn’t just about pain relief—it’s about finding long-term management options. Whether it’s discussing hormone treatments, surgery, or alternative therapies with a specialist, I believe in staying informed and advocating for myself in medical settings. It can be frustrating at times, but finding a doctor who listens and takes my pain seriously has made a huge difference.

Final Thoughts

Managing endometriosis pain is an ongoing process, and what works for me now might change in the future. Some days are harder than others, but I’ve learned to be kinder to myself, listen to my body, and focus on what helps me feel my best. If you’re struggling with endometriosis, know that you’re not alone—your pain is real, and you deserve support and relief.

Do you have any go-to methods for managing endometriosis pain? Let’s share and support each other in the comments.

Share:

Saturday, 15 February 2025

HOW TO MAKE BUTTER AT HOME: SIMPLE 2-INGREDIENT RECIPE


                           how to make butter at home: Simple 2-Ingredient Recipe


Making butter at home is surprisingly easy, and you only need two simple ingredients: heavy cream and salt (if you want salted butter). If you’ve ever wondered about the magic behind turning liquid cream into the creamy spread we all know and love, you're in the right place!

Here’s how to make your own butter from scratch in just a few easy steps.

                           Ingredients:


  • 1 pint of heavy cream (make sure it's fresh and high-quality!)
  • Salt (optional, to taste)

                  Step-by-Step Guide to Making Butter at Home:

  1. Gather your equipment:

    • A stand mixer, hand mixer, or even a jar with a lid (if you want to get super old-school).
    • Use a bowl to catch the buttermilk.
    • Use a spatula to scoop out the butter.
  2. Whip the cream:                                                                                                                                                                                                                                            Pour the heavy cream into your mixer and start whipping at medium-high speed. I used my hand mixer and put it on medium speed.  It will go through several stages: first, it will turn into whipped cream, and then it will start to separate. Keep whipping, and after a few minutes, you will notice that the whipped cream begins to break apart, and you’ll see buttermilk separating from the butter solids.

  3. Drain the buttermilk                                                                                                                                                                                                                                                                                      

  4. Once the butter has formed (and the buttermilk is separated), carefully drain the liquid. Don’t toss the buttermilk, though – you can use it for baking or cooking. It's a great addition to pancakes or muffins!

  5. Rinse the butter


  1. To remove any remaining buttermilk (which could make the butter spoil faster), rinse the butter under cold water about 7 times until the water is no longer cloudy/milky. Press the butter gently with your hands or a spatula to help release all the liquid.

  2. Salt it (optional):
    If you want salted butter, now is the time to add salt. Start with about 1/4 tsp of salt per 1 cup of butter. You can adjust it to your taste.

  3. Knead the butter :
    Once you've salted it, knead the butter to help incorporate the salt evenly and remove any extra liquid. You can use a spatula or your hands (with gloves on if you'd like).

  4. Store your homemade butter:


 After kneading and getting the consistency you like, transfer your butter into a container and refrigerate. Homemade butter can last about a week in the fridge. If you want it to last longer, you can freeze it!

Why Make Butter at Home?

Making butter at home allows you to have complete control over the ingredients. No additives, preservatives, or mystery ingredients—just pure, creamy goodness. Plus, it’s a fun process that lets you experience how simple kitchen staples are made from scratch.


Tips for Making the Best Homemade Butter:

  • Use fresh heavy cream for the best results. You can find it in most grocery stores, or better yet, grab it from a local dairy farm.
  • Experiment with flavourings: You can infuse your butter with herbs, garlic, or even honey for a personalised touch.
  • If you don’t have a stand mixer, you can use a hand mixer or even shake the cream in a jar—just be prepared for a good workout!

Conclusion

Making butter at home is such a rewarding experience. It's quick, simple, and tastes so much better than store-bought. Plus, you get to feel like a pro in the kitchen! All it takes is two ingredients, a little patience, and a bit of effort, and you’ll have homemade butter that is the star of your next meal.

Give it a try and let me know how it goes! Share your thoughts or any twists you’ve added to the recipe in the comments below!

Share:

Monday, 10 February 2025

HOW TO MAKE CHICKEN BONE BROTH AT HOME


Since changing my diet to a more holistic approach, I have been making my own chicken bone broth at home. It has been the best broth to add to stews and soups. I even drink it first thing in the morning on an empty stomach as it has a lot of health benefits. It's full of flavour and has anti-inflammatory properties. I follow this recipe from the book |"The 4-Week Endometriosis Diet Plan", but I tweaked it to my preference. 

These are the benefits of having bone broth; 

- Improved joint healthThe collagen in bone broth can help improve joint pain and stiffness
- Better skin healthThe collagen in bone broth can help improve skin elasticity and health.
- Improved gut healthThe collagen in bone broth can help heal the gut lining and reduce inflammation.
- Improved immune systemThe minerals in bone broth can help support the immune system.
- Improved digestionThe nutrients in bone broth can help stimulate digestive juices and soothe gut inflammation 
- Improved brain functionThe glycine in bone broth can help detoxify cells from chemicals and improve brain function
- Improved sleepBone broth may help support healthy sleep.      
|(source - google )                                              

                                        Recipe for bone broth 

                                         6 knuckles bones or chicken carcass  
                                         2 carrots, barely chopped
                                         1 onion, barely chopped 
                                         3 celery stalk
                                         Filtered water 
                                         sea salt 
                                         apple cider vinegar 
                                         black pepper
                                         garlic powder 
                                         1/2 stalk of ginger (you can add ginger if you like)

1. Roast the bones in the oven first - this adds a yummy flavour! Place on baking sheet and boil on high, about 10 minutes per side. 

2. Add the bones to a large pot with carrot, onion, and celery, and add enough filtered water to just cover the bones. Add a spoonful of salt, sprinkle of black pepper, garlic powder and a dash vinegar, and barely simmer on very low heat for 24 hours if you're cooking on the stovetop or using a slow cooker. 

3. If you're using an Instant pot electric pressure cooker, cook on high pressure for 4 hours (which is why having an Instant pot is very helpful if you make lots of broth, which I recommend). 

      (Recipe from The 4-Week Endometriosis Diet Plan - Katie Edmonds NTC)

How to Store Your Bone Broth

Once your bone broth is finished cooking and cooled down, it’s important to store it properly to preserve its flavour and nutrients.

Cool it Quickly: To avoid any bacterial growth, let the broth cool down to room temperature before storing it. You can speed up this process by placing the pot in a sink with ice water (just make sure the broth doesn’t touch the water). This will ensure the broth stays safe for longer periods.

Use Glass Containers: For the best long-term storage, use glass jars or airtight containers. Glass helps to preserve the flavour and quality of the broth, and it’s also easy to clean. If you plan to use it within a few days, smaller jars or containers can be ideal for easier access.

Freezing: If you’ve made a large batch, you can freeze bone broth for up to 3 months. For convenient portion sizes, pour the broth into ice cube trays or silicone molds before freezing. Once frozen, transfer the cubes into a freezer-safe bag or container so you can easily grab just the right amount whenever you need it.

Refrigeration: In the fridge, bone broth can last up to 5 days. Store it in an airtight container, and make sure to consume it within that time frame. If you won’t be using it up within the week, freezing it is your best bet.

Skim the Fat: When storing in the fridge, you’ll notice that the fat in the broth will solidify at the top. If you prefer a leaner broth, simply skim the fat off before storing or before using it in recipes. The fat can also be saved and used for cooking—it adds great flavour!

Reheat Carefully: When you’re ready to enjoy your broth, reheat it gently on the stove. Avoid boiling it, as this can alter the taste and consistency. If you’ve frozen it, allow it to thaw in the fridge overnight or heat it up directly from frozen by simmering on low heat.


Share:

Monday, 20 January 2025

HOW TO MAKE THE HIGH PROTEIN TIKTOK BAGEL


                                           high protein tiktok bagel recipe 


                                                     Ingredients

Makes 4 bagels 

  • 1 cup of wholemeal bread flour or bread mix flour 
  • 1 cup of thick Greek yoghurt 
  • pinch of salt for taste 
  • 1 tsp of baking powder 

                                 Equipment Needed:
  • Mixing bowl 
  • Wooden spoon 
  • Work surface or board (for kneading)
  • Knife (for portioning dough)
  • Baking tray 

For toppings
  • sprinkle of sesame seeds/ poppy seeds 
  • 1 egg for glazing the bagels 


                               HOW I MAKE IT 

1. Preheat the Oven: Set your oven to 180°C (350°F) and allow it to fully preheat.

2. Prepare the Dough: In a mixing bowl, combine the bread flour, Greek yoghurt, baking powder, and salt. Mix everything together with a wooden spoon until combined.

3. Knead the Dough: Use your hands to knead the dough into a smooth, rounded ball.

4. Shape the Bagels: Flour your work surface lightly, then place the dough onto it. Knead the dough for another minute or so, then divide it into 4 equal portions. Roll each portion into a ball, then use your finger to create a hole in the middle, forming a doughnut shape.

5. Bake: Place the shaped bagels onto a baking tray lined with parchment paper. Bake in the preheated oven for 30-35 minutes, or until golden brown on top.


6. Serve: Let the bagels cool slightly before serving. Enjoy with your favourite toppings!
  

Tips:

  • You can add seeds or herbs to the dough for extra flavor.
  • For an extra golden finish, brush the tops with a little milk or egg wash before baking.


Share:

Sunday, 5 January 2025

Seize the Moment: How to Dive into Opportunities with Confidence


      Seize the Moment: How to Dive into Opportunities with Confidence

Have you ever felt paralysed by overthinking before starting something new?


Taking the leap is one of the most powerful keys to success, and I truly believe that. When I was 18, I had always dreamed of pursuing my passion for makeup and working for myself.  But at the time, I hadn’t seen anyone around me doing anything similar—everyone I knew was following the traditional career path.

Then, I started watching my favourite YouTubers, who were sharing their passion and creativity through videos. That’s when I realised I could do the same—and it gave me the push I needed to dive in. To be honest, I didn’t even have a clear plan or strategy. 

I just filmed myself doing a makeup look inspired by the sunset (I think it was sunset-inspired, at least!). I didn’t have fancy equipment or a computer to edit the footage. I used my iPhone and edited everything on iMovie. I also didn’t have a vast collection of makeup products like the influencers I admired, but I used what I had.

The key takeaway is this: I could have let my lack of equipment, knowledge of makeup, or editing skills hold me back. But instead, I just decided to do it anyway. Sometimes, things won’t line up perfectly, and we won’t have everything we think we need—but we have to start anyway. Holding ourselves back only keeps us stuck. The truth is, if we wait for everything to be perfect, we may never take that first step.

Why We Hesitate

There are several reasons why we hesitate before seizing opportunities, and they’re all valid:
  • Fear of failure and rejection
  • Overthinking and perfectionism
  • Lack of confidence and clarity about goals
But here’s the thing: we can’t let these fears define us. Life is full of challenges, and if we don’t take the leap, we become stagnant. Growth comes from pushing past fear and uncertainty. We need to challenge ourselves—especially when it’s scary.

Mindset Shifts That Helped Me Embrace Opportunities

Here are a few mindset shifts that helped me stop overthinking and embrace new opportunities with confidence:

  1. Don’t focus too much on what others are doing. This can quickly dim your light and make you feel inadequate before you’ve even tried. Your journey is your own.
  2. Remember, it’s your vision, not anyone else’s. Stay true to your purpose, and don’t get caught up in comparison.
  3. Do it for your future self. Even when you doubt yourself, do it anyway. I’ve created Instagram reels and YouTube videos when I felt like my worst self, and those have been some of my most viewed posts. Trust me—your future self will thank you.
  4. You don’t lose anything but gain confidence, resilience, and valuable learning experiences. Every attempt, even if it doesn’t go perfectly, helps you grow.
  5. Take action immediately. To avoid procrastination, start with just one tiny step. The momentum will build.
  6. Set goals using the SMART method. This will help give the direction and purpose of your dreams.
  7. Speak life and positivity into your goals. As Proverbs 18:21 says, “The tongue has the power of life and death, and those who love it will eat its fruit.” Your words shape your reality, so speak positively about what you’re trying to achieve.


Conclusion: Execute, Don’t Wait for Perfection

Plan, set goals, and execute—don’t wait for everything to align perfectly. Just start, and the path will reveal itself.

This week, challenge yourself to say "yes" to one opportunity you’d normally overthink or hesitate about. Whether it’s signing up for a class, exploring a new hobby, or volunteering for a new project, take the leap. Afterwards, write down what you did, how it felt, and what you learned from the experience. Share your progress in the comments or tag me on social media—I’d love to celebrate your wins with you!


Share:
© Tabeth Giselle | All rights reserved.
Blog Design Handcrafted by pipdig